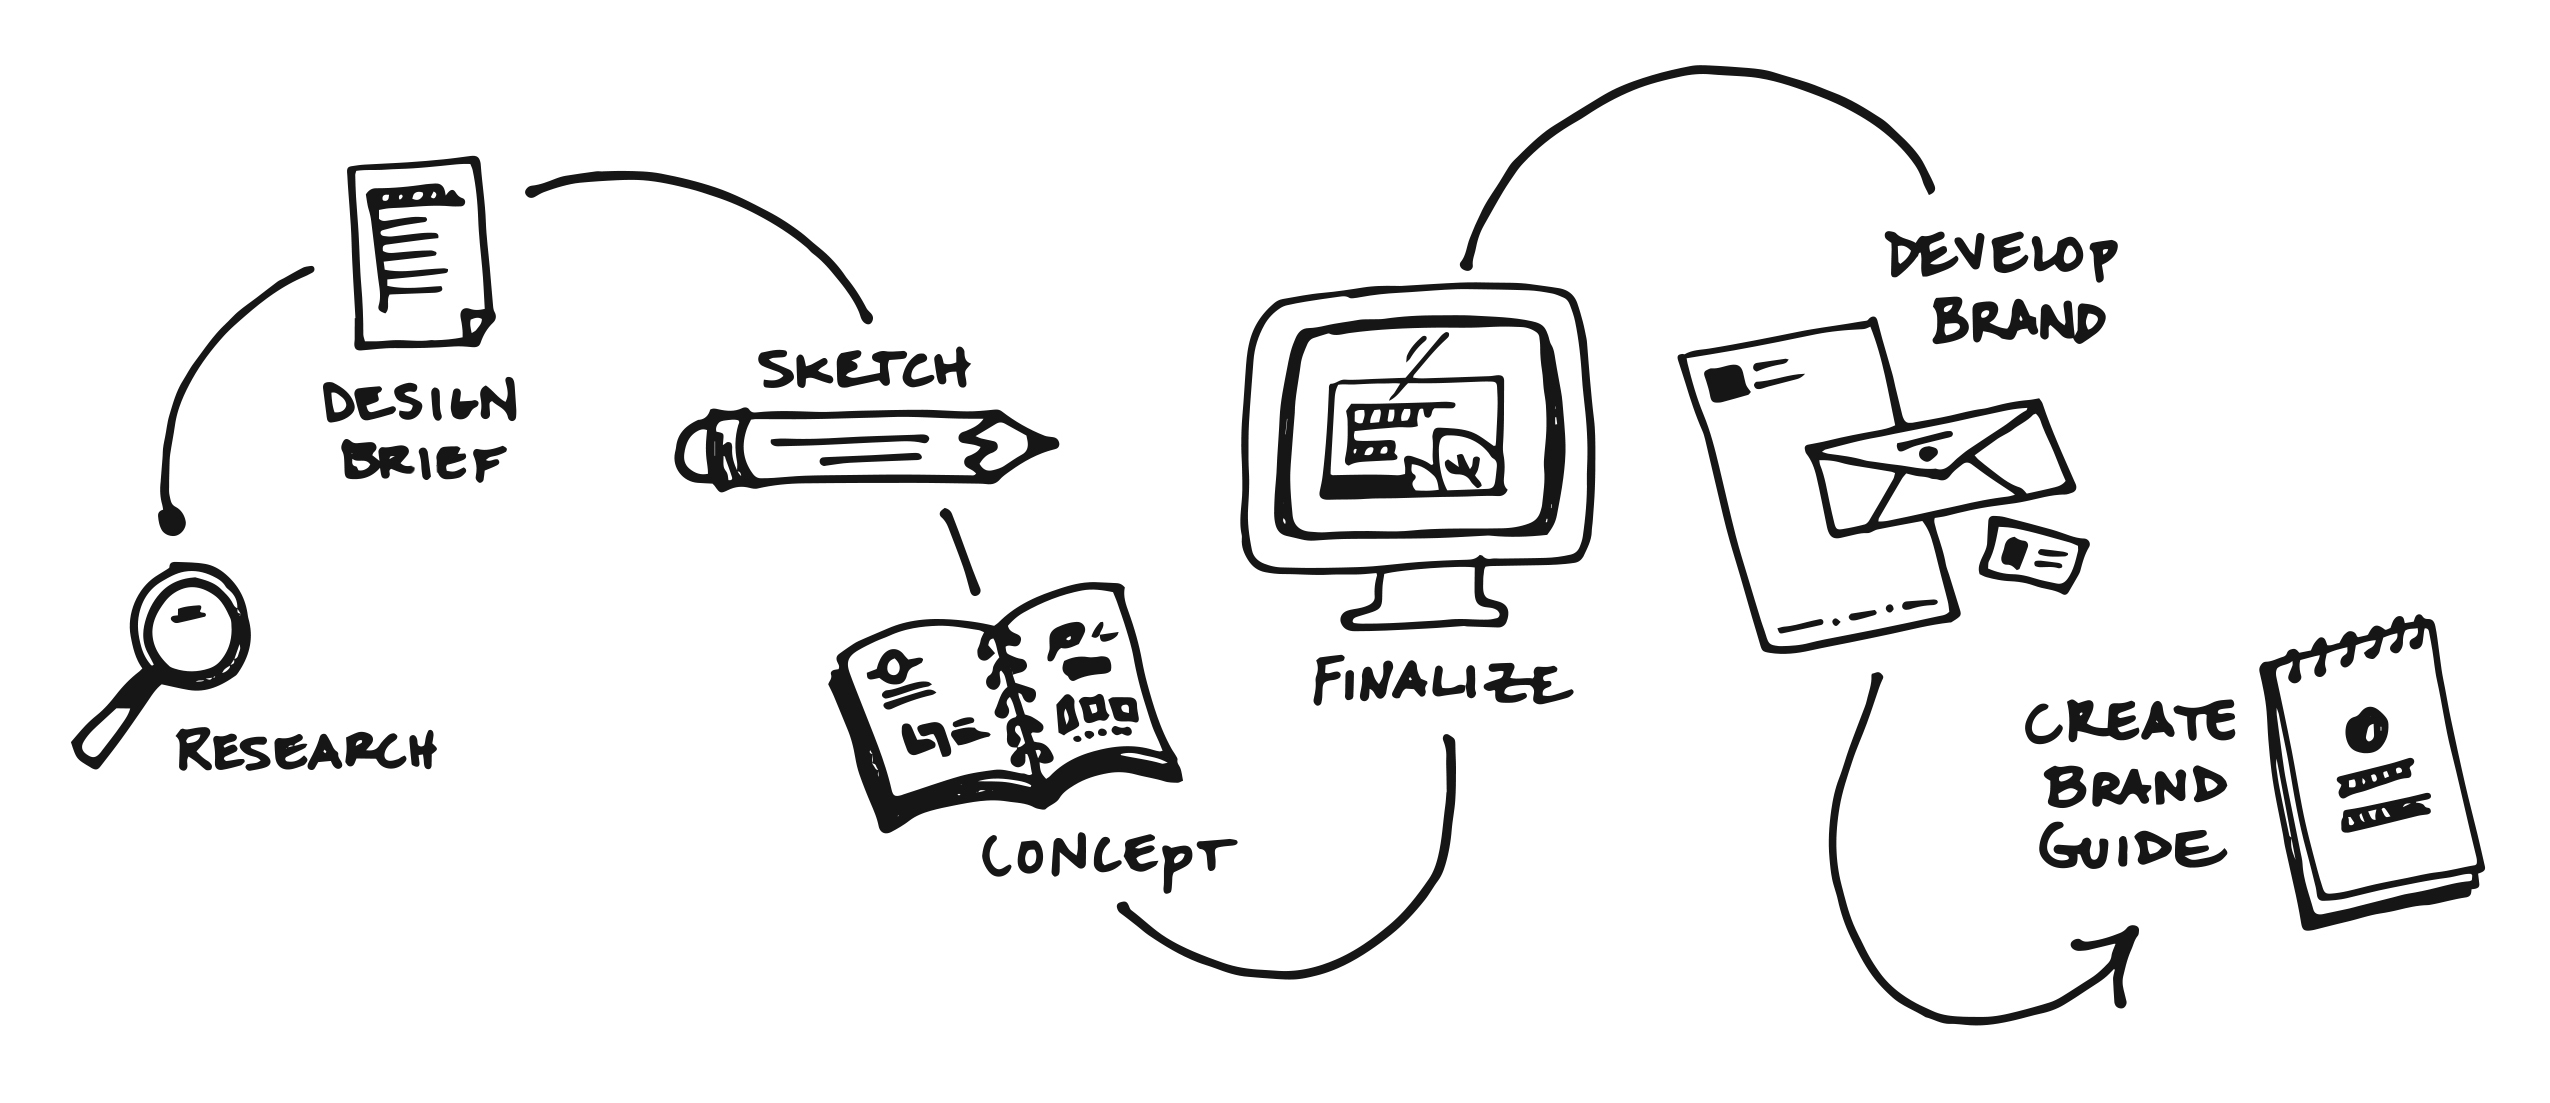
Logo Design Process:
At RCP, we start our logo design process with research and a design brief. Research begins with a client interview, followed by a deep dive into their history, audience, competitors, products/services, and business goals. Once we have all of the nitty-gritty details, we create a design brief and start brainstorming ideas on how best to represent their identity.
Logo Design: Sketching & Considerations
The next step is for our design team to start sketching ideas. Every little detail within a logo should have a reason or purpose. As we develop a logo, it’s good practice to take notes on the reasons for the creation to strongly support the strategy behind the logo.
After rounds of sketching, we conceptualize and bring our ideas to life. In most cases, logo mockups undergo multiple rounds of design modifications until the client’s vision and our ideas align.
Logo Design: Finalization & Review
Finally, we revisit the overarching business goals of our client to determine if the logo accurately identifies the brand, improves upon the issues of the original logo, and integrates properly with previously established brand touchpoints. Effective logos are much more than creative esthetic, they must be practical.
You have a logo. Now what?
Here are some things to consider about your logo to ensure it’s as practical as possible:
- How does this logo look in one solid color?
- Does this logo display well in horizontal, vertical, and square formats?
- What is the minimum size this logo can be without losing quality?
- Do I need a secondary option for use where space is small and limited?
In most cases, your logo will be used across many platforms, throughout various mediums, and at a wide range of sizes- so it’s important to create all of the appropriate file types from the beginning. When developing a logo, always create it as a vector file. This will provide the flexibility required for your logo to be produced on a wide range of items without losing its quality.
Brand Guide Creation:
What Is A Brand Guide & Why Do I Need One?
With all of your logo files complete and ready for use, we now need to establish guidelines for your brand. A brand guide establishes rules in order to keep consistency for your brand across all platforms. Perhaps you have multiple divisions or categories within your brand, you update your theme and creative periodically, or you have different creative rules based on various events – the brand guide is the place to specify all of these details.
Consider your brand guide a living document that will continue to grow and evolve over time. You have to create pieces in order to create rules. As you continue to develop things such as: signage, stationery, collateral, etc., other rules will be written and can be added along the way.
How To Make A Brand Guide
The basic brand guide will display all of your logo options in order of preference to be used, as well as list any limitations, restrictions, or special spacing that may apply for each option. For instance, you may have a primary logo that is horizontal, a secondary logo that is vertical, and tertiary logo that is simplified for use in applications with a limited space. Make sure to include the minimum size so that you know your logo will be readable when reduced for small applications. Include all color options that are available from the full-color logo to a solid one-color logo for imprinting. If you have a very complex logo that contains gradients or blends, be sure to include a flat color option for applications such as screen printing and embroidery. If your logo consists of a wordmark and icon, as we mentioned earlier, be sure to specify all the rules on how they may or may not be used in order to keep consistency within your brand.
Brand Guide Vs. Style Guide: Is There a Difference?
Yes and no. Style guides do exactly what you’d expect- they provide guidance as to what style of branding is appropriate in any given context. But to keep things simple, it’s advisable that your brand’s style guide and branding guide exist within the same document. While these documents can exist on their own, we prefer to consolidate them into one overarching creative roadmap: The Brand Guide.
What Should My Brand Guide Include?
With all the logo options and rules in place we can now begin to add the other elements that define your brand. Consider the fonts that will best represent your brand and any specific text styling that needs to be followed. Add a color palette that specifies the PMS (Pantone Matching System), CMYK, RGB, HEX, and any other colors that may apply to your brand such as thread or paint colors. This will allow you to achieve color consistency across all platforms from digital media to screen printing, web, and beyond.
To go beyond the basic brand guide, add rules for stationery, packaging, signage, writing language… the list is endless. The best brand guides are never built from a pre-existing template, they are completely tailored and unique to your brand.
How Should I Structure My Brand Guide?
Structuring brand guides will differ from brand to brand, but keep the end users in mind when developing the rules. While there may be several people setting up files with your logo for your brand, it should look as though everything was done by one person. Rules that are clear will ensure your brand guide users are able to follow along easily and ultimately provide the best end results for your brand.

